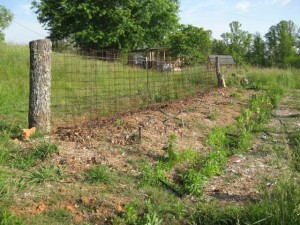
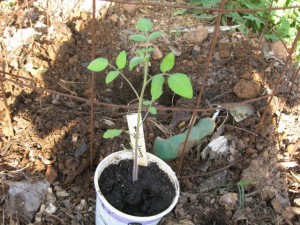
I made a false start about a month ago, when the daily temperatures were in the 80’s, and put out a dozen small tomato plants, most of which succumbed to an unexpected frost. So I waited a while and in the past week have begun setting out the plants. I try to rotate to avoid soil borne disease, though the area I have just planted was used for tomatoes for the first time last year. It is on the top of a small rise along the edge where the ground slopes down, running South to North so it has excellent sun exposure and good drainage.
|
|
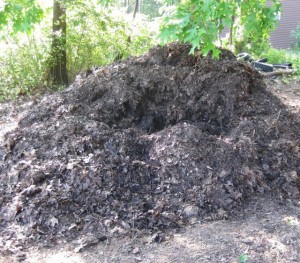
The negative to the site is bermuda grass which grows rapaciously through the mulches and grips tenaciously to the ground. I prepared the tomato planting area by forking and pulling out the bermuda runners and digging in large dollops of my compost. The compost pile was prepared last fall from leaf bags, surplus vegetation, horse manure and some prior season’s compost for a starter. The inner core has broken down well, is home to many earth worms, and is a good supplement for my future tomato bed.
|
|
|
I have two cherry tree trunks on the hill which are the anchors for a cable strung between them. The cable is threaded through 23 tomato cages which I made from metal remesh used for concrete, purchased in rolls 5 ft wide and 150 ft long. Each cage is 5 ft high, has a 6 ft circumference and the interstices formed by the wire are 6 inch squares. At the end of each season I store the cages under cover. I once tried planting the tomato plants first and then placing the wire cages around them but this didn’t work out for me. So the drill now, after preparing the soil, is to line up the cages threaded with the cable and then dig and place the tomato plants, sliding the hand trowel, and the pots through the 6 inch squares. Takes some getting used to.
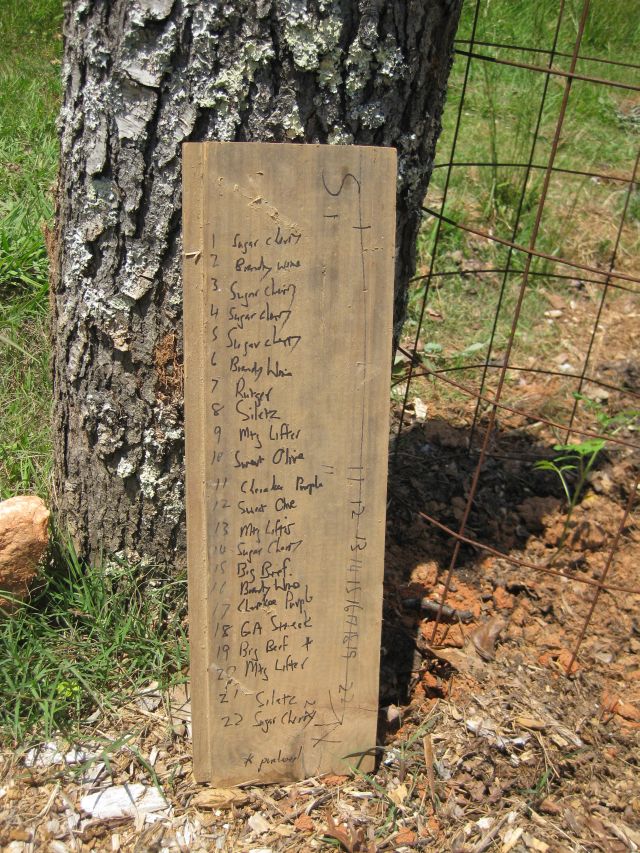
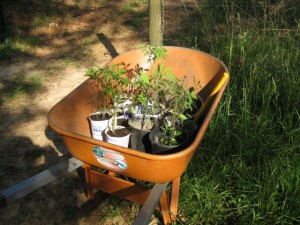
I grew all my tomato plants from seed some of which is 3 or 4 years old (actually of the 23 planted here, two Big Beef were gifted to me by a neighbor). I have a variety of types and losing some to the frost was not an issue since I grew more than 80 tomato plants and, at the end of the day, will probably plant 50 and give the rest away. In the past I used plastic markers to identify the tomato plants but these invariably went adrift. This year I numbered the cages sequentially South to North and have written the cage number and tomato plant name on a board, which will be attached to one of the trunks.
So today I finished planting the 23 tomato plants. Next steps are to realign my gravity fed irrigation bubblers, then cover the soil between the plants with newspaper to prevent raindrops splashing soil onto the tomato plants and, with aluminum foil wrap, encircle the first 5 inches of the plant’s stem, which also reduces the spread of soil borne problems. So still some work to do but the plants are out of the greenhouse and can now spread their green wings.
