
I have always wanted a wood stove. Think of a box with 6 sides. If the box is inserted into the wall of a room only 1 side faces the room. The other sides are buried in the wall and face up, down, to the left and right and to the rear – this is the fireplace in our living room. Now I know that a lot of the heat comes out the front of the fireplace into the room, but more goes straight up the chimney – what a waste. My other problem with our fireplace is all the particulates it releases into the room – after a good fire the surfaces of tables and objects have a gritty film, and I can only think what is inside my lungs which recirculate the air more efficiently than the air passing the table tops. Plus a fireplace releases high emissions into the environment. So it was always my intention to change out the fireplace for a good wood stove, but this was action deferred until the recent arctic vortexes got me moving.
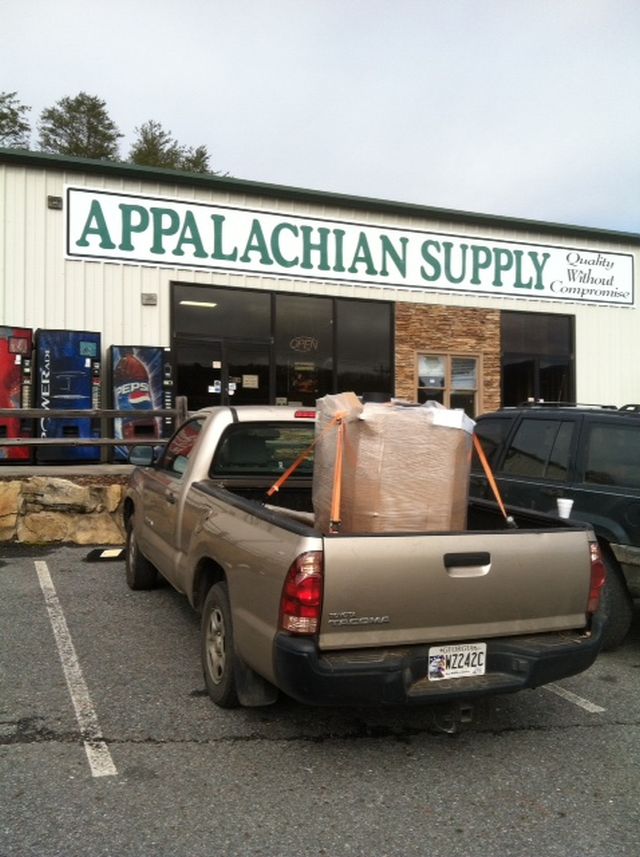
First the research – I called a well rated chimney firm and they wanted $99 for a consultation visit and would not provide any estimates either for installation or stoves until the visit. No thank you! From their website I noted they use the Heatilator brand and two sizes WS18 and WS22 got my interest – I have no interest in pellet stoves since I wish to be self reliant and have access to lots of trees. The NYT carried a recent article on stoves and mentioned one stalwart with emissions of just over 3 grams per hour. The WS22 is better and has EPA certified emissions of 2.7 grams per hour. I googled Heatilator for my area and located a dealer who informed me they were no longer a dealer and had a WS22 in their showroom, brand new, which they would sell for a discount. They are in Ellijay which is our apple growing area located in the Appalachian range and just 20 miles away. They agreed to strap the stove to a pallet and loaded it into my truck.
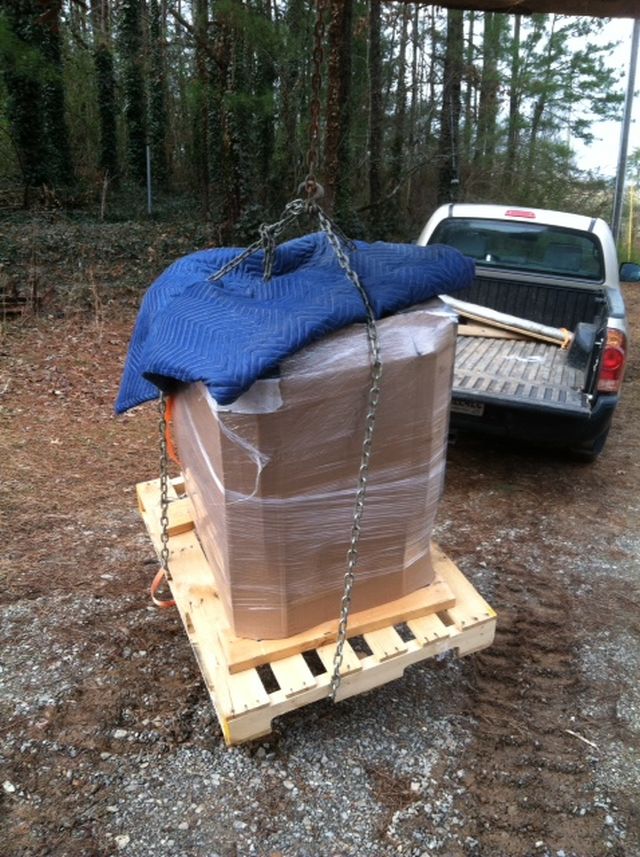
The stove weighs over 400 lbs, too much for me to offload, but a simple matter for my bobcat using chains.
Some things I won’t do, and climbing roofs and chimneys is one of them. I made several calls and located an installer who seemed to know all about wood stove installation. I suggested that all that was needed was to pull out the fireplace, leave the existing flue in place and connect the stovepipe which rises above the stove through a 90 degree bend and through the wall, to a tee which would connect to the existing flue. He said this was not code compliant and could not be done. Instead he said the whole flue would have to be removed and replaced by a flue designed for wood stoves. He visited (no charge), impressed me and gave me a reasonable quote. I called his insurer to confirm coverage, called his reference which is someone who works at a major fireplace/stove retailer and was very positive, and drafted a simple agreement confirming insurance coverage, that I would not be responsible for any injuries, that all materials were new and UL compliant, that the installation would be code compliant and that work and materials were warranted for 1 year. He signed in his personal capacity and as owner for his company and we were set to go.
His quote detailed separately the cost of removing the stone surround and the cost of framing up the hole remaining after removing the fireplace but not to tape or mud the drywall. I decided to do these tasks myself. Removing the stone surround and mantle was a big job.
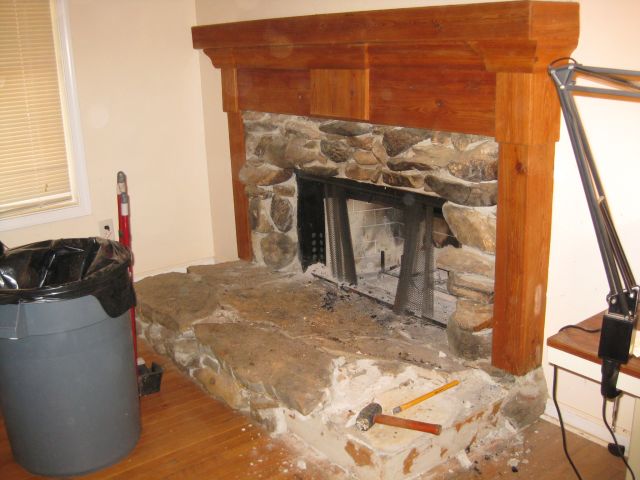
There were lots of stones and the mantle included a lot of wood.
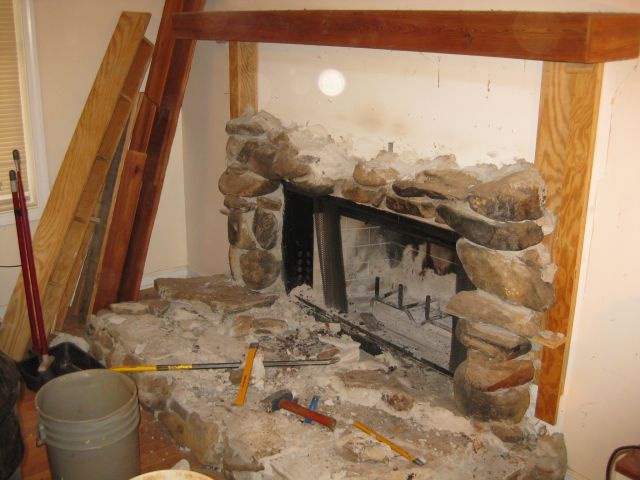
The floor stone was on a wood frame and the big question for me was whether the oak flooring in the room extended under the frame or terminated at the frame.
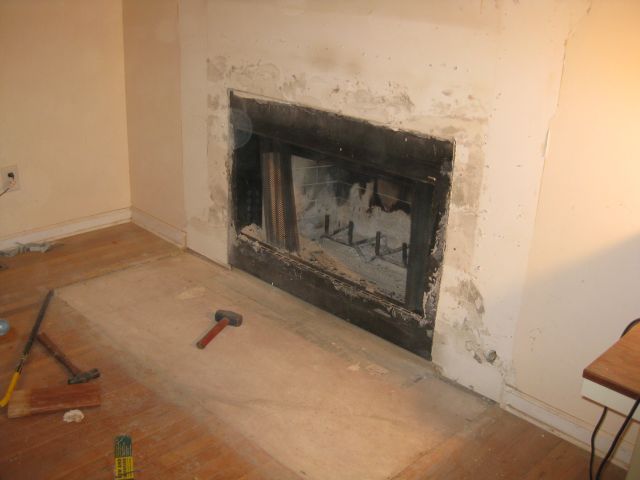
Unfortunately the oak floor terminated at the frame – so now I had to install new flooring. The floor is 3/4″ thick and 2.25″ wide and HD sold it by the bundle. After googling instructions and using my pneumatic finish nailer and miter saw, I installed new flooring which matched its surroundings. And now I was ready for the wood stove installer who arrived the next day and which I chronicle in part 2.