In addition to my place north of Atlanta where I spend most of my time, we have a large house in Atlanta which we will sell when M. stops working. I have begun readying the Atlanta house for sale. It has two water heaters and neither has an expansion tank. The code requires an expansion tank be installed if a new heater is installed or if a backflow preventer (check or one way valve) is installed.
A backflow preventer prevents water on the house side of the device from flowing back into the main supply. Since the house side is sealed (until you open a faucet) when water expands (from being heated by the water heater) it has nowhere to go and the pressure build up could damage appliances such as the water heater. Therefore the need for a device which can accommodate the expansion of the water. An expansion tank should not be confused with a T&P (temperature and pressure valve) which is attached to water heaters and releases water when the pressure is unusually high.
Expansion tanks are usually connected to the cold water inlet to the water heater. The tank has an air bladder/diaphragm and air valve which looks like the valve on car tires. Instructions suggest inflating the bladder to the pressure of the water in the house. The size of the expansion tank depends on the size of the water heater. Our water heater is 50 gallons and a 2 gallon expansion tank cost $40 is adequate.
The question is where to add the tee for the tank.
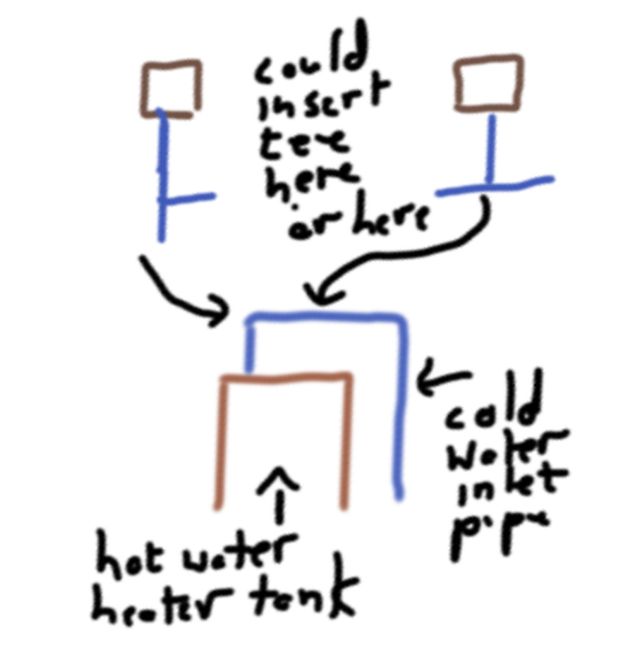 One suggestion was on the 90 degree bend where the tank would have the most support, but this requires unsoldering the elbow and then either re-soldering or scrupulously cleaning the existing pipes to accommodate a SharkBite or GatorBite fitting (“shark fitting”). The easiest was between the 2 elbows and I ascertained there was sufficient room to pull the pipes apart to accept a new tee fitting. Next question was to solder or use a gator fitting? A soldered joint is rigid and regarded as permanent and once soldered can hold the tank in a vertical position. A shark fitting can be swiveled which is convenient at times but cannot hold a tank vertical since the slightest nudge will cause it to swivel down.
I have done lots of soldering in the past. Solder fittings are much cheaper than shark fittings and are permanent. However, shark fittings are very easy to use and easy to undo such as when you have to replace the water heater. There is a nagging concern that a shark fitting can come undone when I am away from the house, but the literature and others assure me this will not happen. So I bit the bullet and used a shark tee fitting and developed a method to ensure the expansion tank stayed vertical.
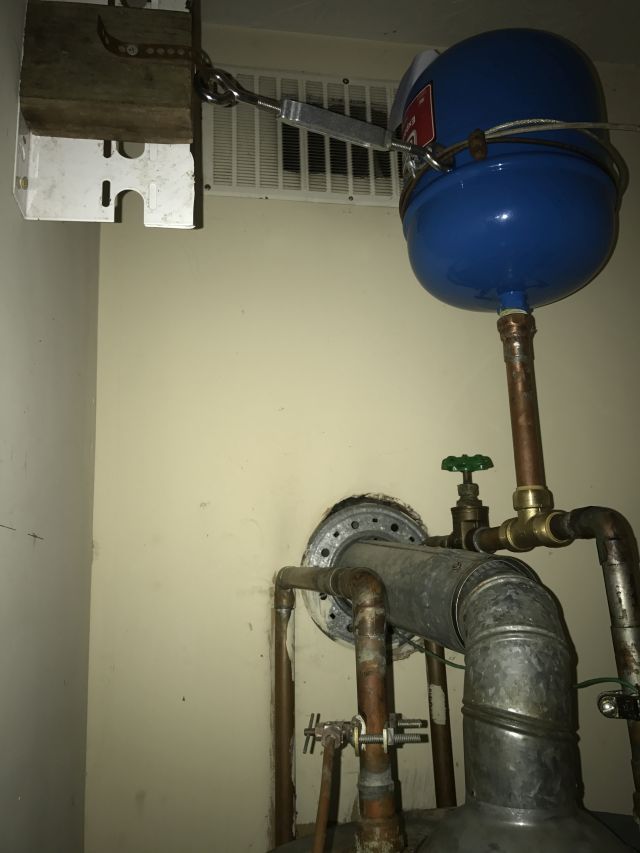
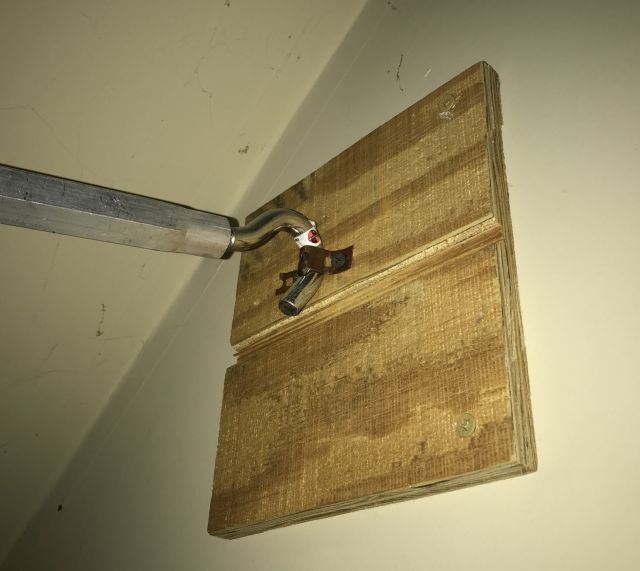
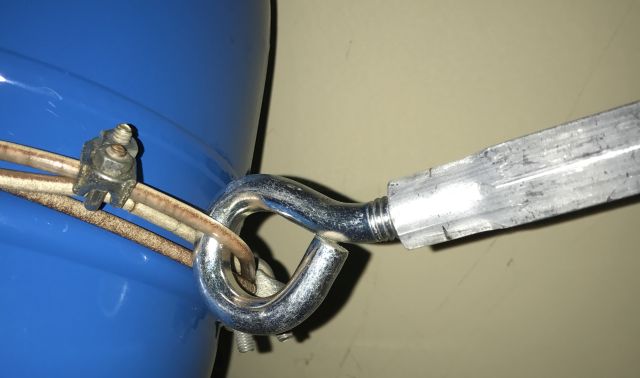
 Steel cable is secured around the middle of the tank. A turnbuckle is attached to the cable and to an anchor on a wood plate which is screwed into a stud.
By adjusting the turnbuckle I can assure the tank is vertical.
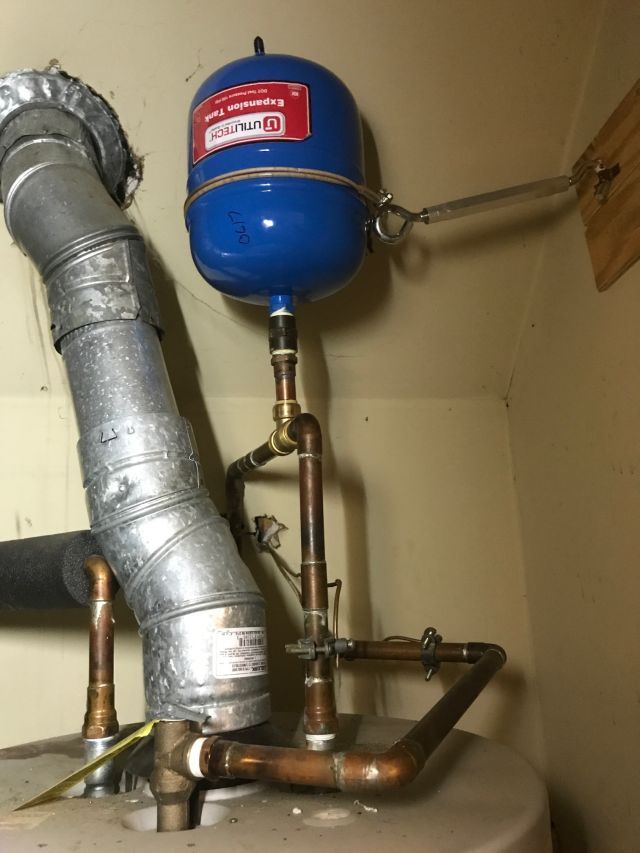
I did solder the 3/4″ male fitting which is coupled to the male fitting on the tank. I happened to have a 3/4″ male and coupler available, otherwise I would have simply purchased a 3/4″ female fitting. If I had simply soldered the tee fitting I could have dispensed with the cable, turnbuckle and other bits shown above.
And shown below is the expansion tank on the 2nd water heater.