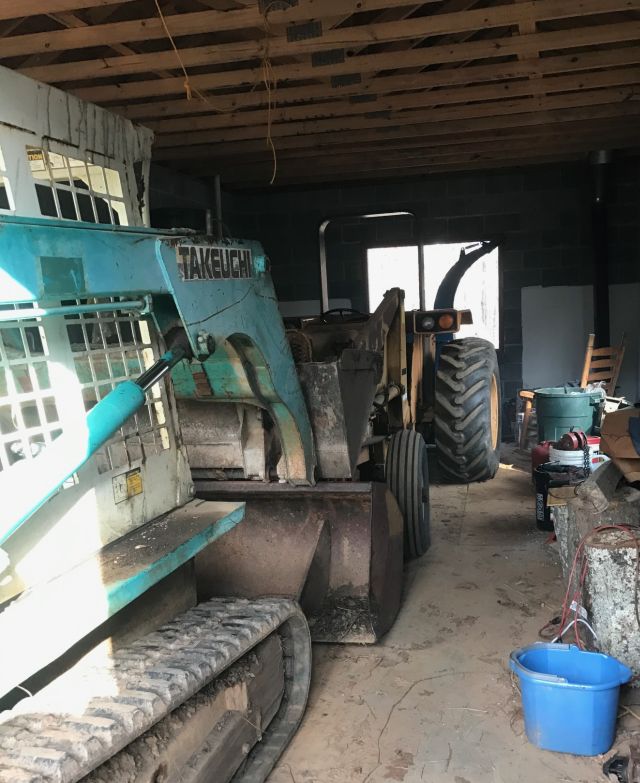
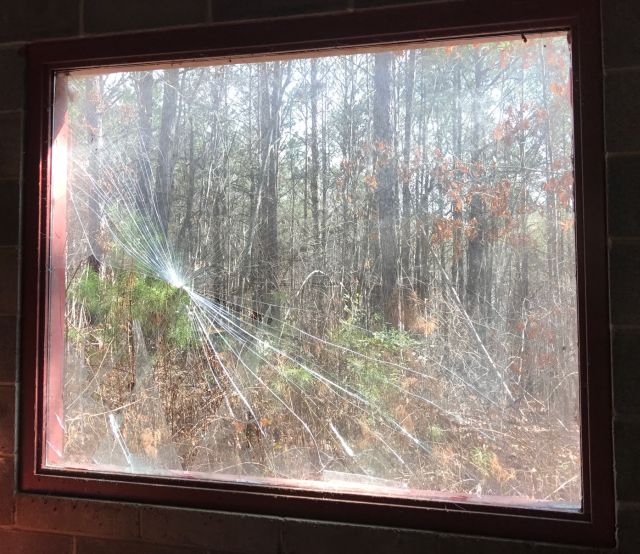
My tractor building has roll-up door on one end and a 4×5 ft window at the other end. It is insulated glass in a steel frame. And has been fine until yesterday when I backed my Case tractor with pto chipper into it, and it shattered.
Up till then I had a good morning. My bobcat started instantly and I turned the compost heap and then I chipped a lot of small trees and branches. And feeling good about everything I then reversed my chipper through the window. I designed the building to accommodate a tractor. Then because I am lazy I left the chipper attached. But even then there was 10 ft to spare. But now I also put the bobcat into the building with its bucket neatly slotted into the tractor’s bucket and a total of 3 inches to spare. But 3 inches is insufficient margin when you are tired and edging back a 9,000 lb old workhorse (Case IH 585 plus bucket plus chipper plus water filled tires).
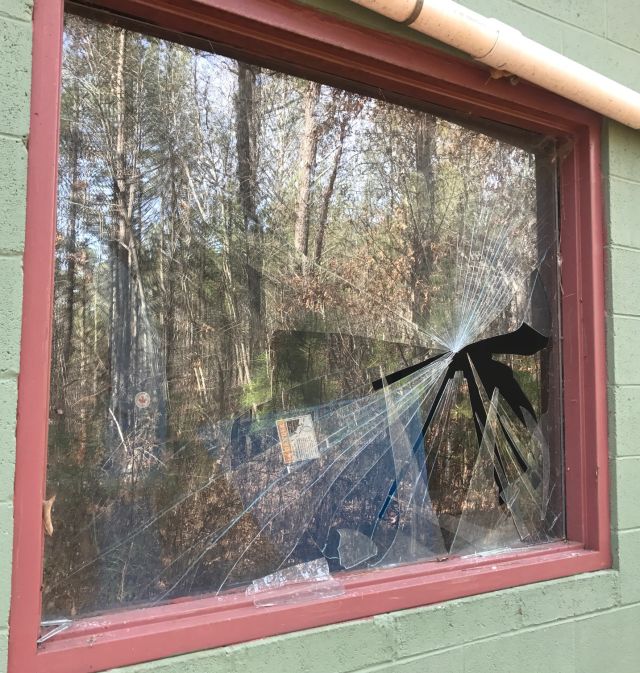
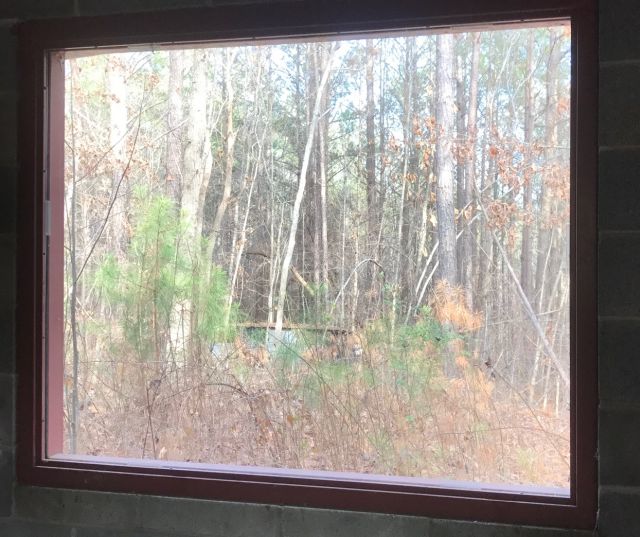
So what to do? I have not been successful cutting glass and decided rather than do it myself to call a professional. I tried 3 local outfits which all had decent websites. I sent a pic (see above) to one and they said $589 with 50% upfront deposit. Another estimated $340 for plate glass and $370 for tempered glass, 0.25″ thick, but there was a wait of at least 2 weeks. The third estimated $365 and a 3 day wait. The 2nd and 3rd quotes did not see a pic of the window and I was concerned that their cost would be higher.
So I decided to research. What about acrylic rather than glass? I learned the pros and cons of plexiglass vs glass. Glass is cheaper, scratch resistant, easier to recycle. Plexiglass is more transparent (lets thro more light), lighter, more resistant to breaking and shattering and easier to work with. I became interested in plexiglass. An internet provider could cut plexiglass to my dimensions to .0625″ accuracy for $180. But shipping was an additional $125. I asked if I could pickup from their Atlanta location and avoid the delivery charge, but did not hear back. I web visited Lowes and HD, and HD had 4×8 ft acrylic sheet 0.25″ thick for $185. I would have to do the cutting myself. I googled how to cut plexiglass and different methods were suggested. I decided to use my circular saw with fine tooth blade and a straight edge secured with G-clamps to guide the saw.
This morning at HD I bought 4×8 ft plywood sheeting 19/32″ ($20) and the 4×8 ft acrylic 0.25″ thick sheet ($185) and a 7.25″ 140 teeth circular saw blade ($6) – all before taxes. And got to work.
First to remove the broken glass. With thick gloves and eye protection I was still disconcerted when the glass would suddenly shatter and spray. So with an 8 ft 4×4 I just smashed out the glass. Removing rusted Phillips screws, which secured steel u-channels holding glass in frame, was initially difficult. Then I figured a solution – full weight on heavy portable drill with newly inserted Phillips driver heads and quick nudges on the trigger got them turning.
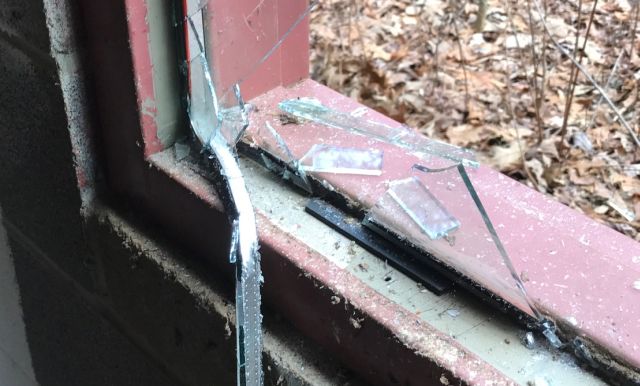
The metal u-channels were wedged in tightly but with patience they came out and the remaining glass shards and the spacer which separated the original 2 panes of glass.
I cautiously approached the cutting of the acrylic sheet. How this one 4×8 ft 0.25″ acrylic sheet could cost $185 (before taxes) boggled my mind. Since I only had one chance to get it right, I didn’t want to mess up. The metal frame measured 48 & 1/16″ by 60 & 1/16″. The acrylic sheet was 48 & 1/16″ wide. So I pre-cut some surplus wood panel to 48″ but it didn’t fit. I know the recommendation is to deduct 1/8″ from width and length. But I also wanted room for expansion in summer. The u-channels are 0.5″ high, so with all this considered, I decided to cut to 47.75″ by 59.75″. But first I practiced on surplus plexiglass and then after lots of scratchings and calculations, I went for it. And it fitted just right.
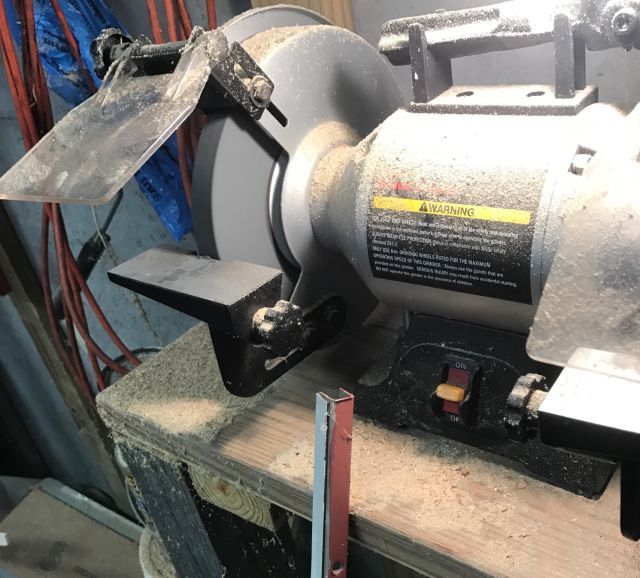
However the u-channels were too tight to fit so I ground down each end on my grinder. I added some spacers between the u-channels and the acrylic. All that remains is to seal the acrylic edges with silicone and add permanent spacers. And remove all the broken glass which according to an online calculator weighs 120 lbs. Broken on Monday and replaced on Tuesday, with a significant cost saving, some satisfaction, and a more resilient solution.
And for the time being I fitted the bobcat closer to the tractor by placing its bucket above the tractor’s bucket rather than inside it. But I will detach the pto shredder from the tractor and store it elsewhere so I have more space in the building.