I have taken several MOOCs (internet courses) given by University of Illinois on 3D printing and the most recent was on 3D printing software. The software, which was free to students, was provided by Autodesk and included Sketchbook (for sketching), Tinkercad (an easy to use CAD design tool) and Fusion 360 (sophisticated computer design, modeling, etc. software).
Tinkercad and Fusion 360 convert ideas into 3D models. Scanning creates a 3D model from a physical object such as if you wished to make a replacement part or copy an artifact in a museum or a miniature bust of friends. Once you have the 3D model you create a physical replica by printing it with a 3D printer. The scan can be made with sophisticated structured light scanners or by photogrammetry using photographs taken with a regular camera. I will outline how I proceeded with my iPhone, but to do it yourself you should take the course, which is free, or $79 if you wish to participate in the assignments and earn a certificate, which is what I did.
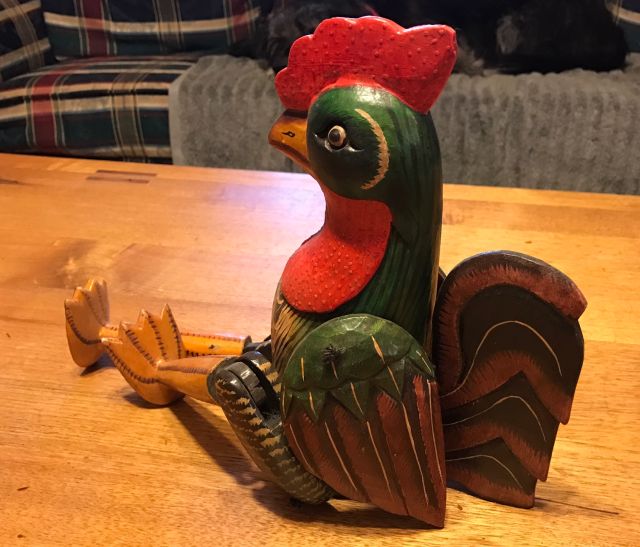
The picture at the top of the post shows the rooster model which I scanned to produce a 3D print. If you follow this link –
you will see the 3D model I produced. You can rotate and look at from all directions.
I took 44 pictures of the rooster with my iphone from all angles except from underneath. Important not to move the rooster or change the lighting or lens zoom, so that the software which stitches all the pics together can use the constant background to figure from where the pics were taken. Since I could not take pics from below, the bottom of the model appears unfinished.
I uploaded the pics to Agisoft Photoscan Pro, which is available free for 30 day trial. There are several steps – align the photos, build a sparse point cloud, delete extraneous background, build a dense point cloud, delete extraneous material, build a mesh and build texture. I then exported to NetFabb for more procedures and then exported to Sketchfab where I published it, which means it can be seen by anyone with the internet link.
The MOOC was fun (relatively easy assignments) and interesting and I will use the techniques for my own 3D printer.