Much time since my last post. My uncovered greens have held up well through the cold and I have begun germinating tomato seeds. Read some excellent books and took a MOOC on software design in connection with 3D printing. And I have spent considerable time diagnosing and fixing my silent Takeuchi TL26 (bobcat).
I don’t use it much but the compost heap needed turning and I wished to grade some ground for additional rainwater tanks, and it stayed silent when I turned the key. Not good.
Previously I had looked at the electrical system diagram (wiring diagram) but did not really understand it. It is one thing to wire components together or replace components (see my posts on replacing failed capacitors), but it is a different ball game actually understanding what’s going on when you turn the key. So this time I resolved to understand how the electrics for starting the bobcat actually work and to step by step test each link and find out what was wrong.
I write up the whole experience separately on this website – if interested please follow this link
The testing process was a slog in part because of poor testing procedures. Here I will mention the problem I had testing the battery.
Warning – a friend, who is a former eye surgeon, told me he had many patients whose eyes were damaged by battery acid. He said an exploding battery is a nasty thing and I should always wear eye protection and keep water nearby for washing off acid.
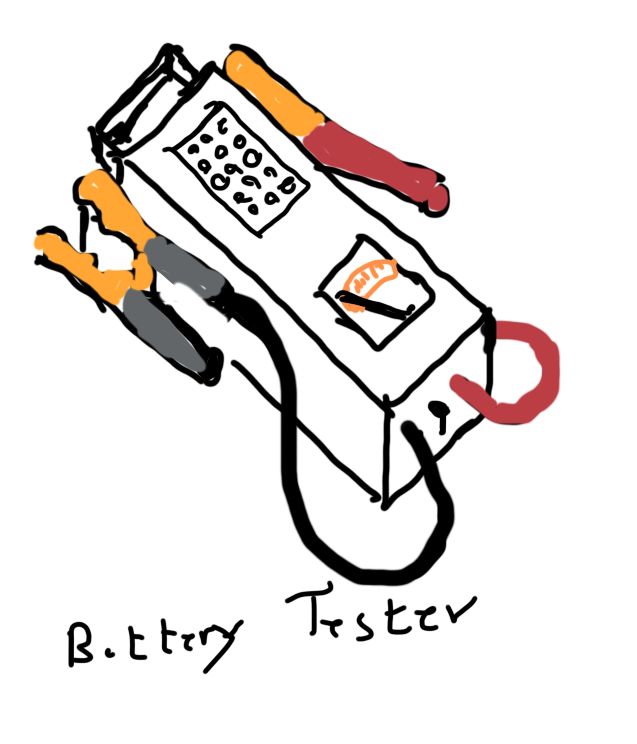
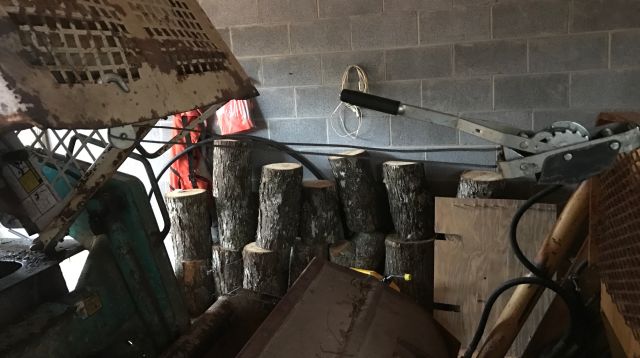
When I pulled the cab forward over the bucket (actually I winched it forward – see photo above), I noticed the negative terminal/post was badly sulphated (covered in white guck). Apparently a sulphated negative terminal can indicate undercharging by the alternator, and a sulphated positive terminal overcharging – just something I read, don’t quote me. I was not surprised since I suspected the alternator was not charging properly and had previously resolved to test it, but never got around to it. I cleaned the ground terminal and charged the battery for a couple of hours. This is a relatively new battery purchased in second half of 2014. Then I decided to test it with Schumacher battery load tester – this is the tester with the big battery clamps and you hold the switch toggle on for 10 seconds and it applies a load and you can tell the real condition of the battery.

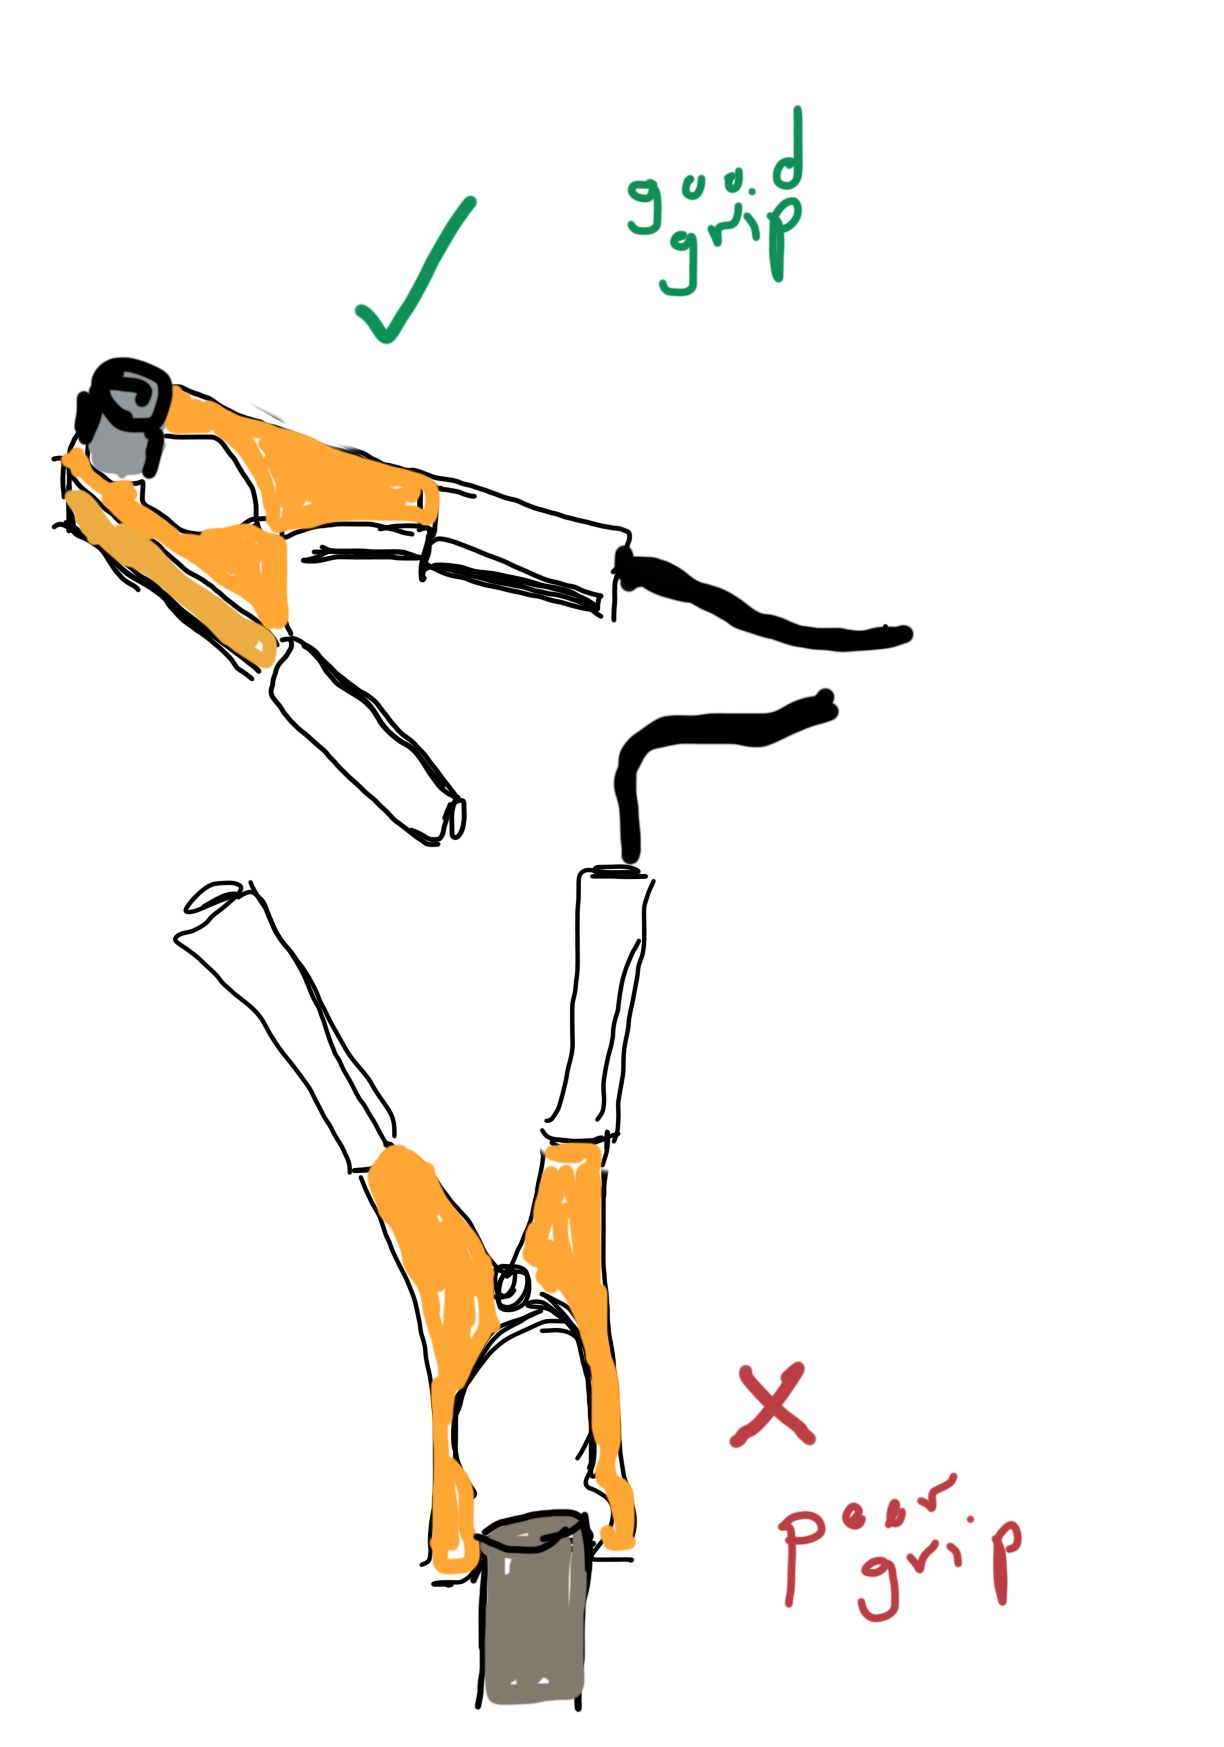
The tester showed 12+ volts before I applied the load and nothing when I applied the load. I was surprised and hauled the battery out of the bobcat (pulled it forward between the lip of the bobcat and the raised cab, which is easier than climbing into the engine area and lifting vertically) and took it indoors and charged it with a sophisticated charger. After 1 hour it said the battery was fine. I tested with Schumacher with 10 second load and it was fine. Took it back to the bobcat connected the terminal clamps, and no response from engine. Decided on a hunch to test again with the Schumacher – nothing. How was this possible? Removed the terminal clamps and applied the Schumacher clamps directly to the battery terminals – read fine. So either the terminal clamps were not making good contact with the battery posts or the Schumacher clamps were not making good contact with the battery terminal clamps. I cleaned the terminals and terminal clamps, reconnected and applied the Schumacher clamps. Tested fine. I removed the Schumacher clamps and then reapplied them – nothing. But now I was concentrating and there was a fizzing/spritzy sound from the Schumacher clamps and the terminal clamps. So this was a problem solved – to get a good load test I had to make sure the Schumacher clamps are tightly seated before applying the load.

A long description of a faulty testing procedure. But I learned. In the link to my detailed testing you can read how I took several wrong turns as a result of faulty testing procedures.
I should mention that an internet authority recommended 3 battery tests – 1) voltage >12.6v; 2) battery load test (described above); 3) use an electronic battery tester. So I purchased a Solar Battery Tester (model BA5) and followed the procedures including inputting the battery CCA of 925. The tester said the battery was fine and calculated the CCA at 830, which should be more than sufficient to start the engine. I would have been surprised if the battery had failed since, to my mind, if the battery passes the load test it should be ok for starting the engine. With 2 testers both indicating the battery was fine, I ruled out the possibility of a bad battery.

