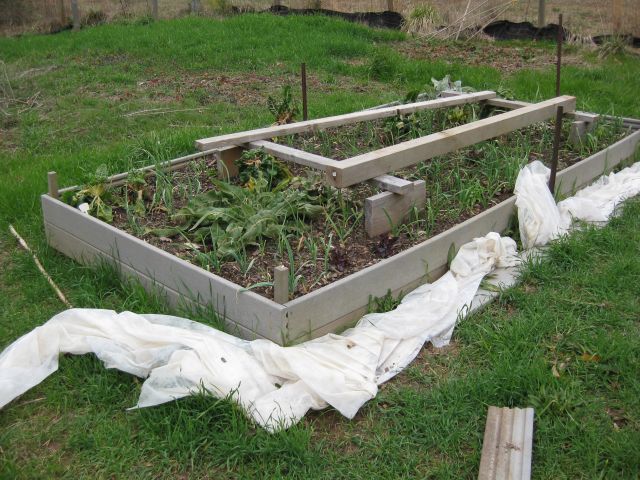
One of my takeaways from the recent GO conference (see two previous posts) is that a raised bed can be constructed from untreated pine and will last a number of years. I have previously constructed my raised beds from composite decking planks.

On the first day of the conference we visited local farms and the small farm I visited was on 2.5 acres of mainly granite and therefore made extensive use of raised beds. The composite decking planks I used for my raised beds cost $21.97 for 1.25″x6″x12′ or 30.5cents per sq inch. I had not thought to use untreated pine for raised beds since I thought it would rot within a few years. The farm we visited, which provides for 40 CSA customers, has been using the same untreated pine for raised beds for 8 years. The cost of untreated pine is $11.71 for 2″x10″x12′ or 9.8c per sq inch. So the cost of constructing a raised bed with untreated pine is less than 1/3 the cost of a raised bed with composite materials. And if my raised bed will last even 5 to 6 years I will be very happy.

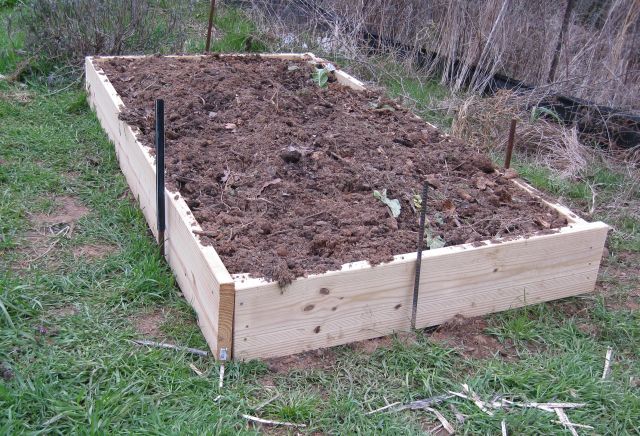
As a trial I purchased 2 10″by 12′ lengths and had the store cut each 12′ length into an 8′ and 4′ piece. I also bought a 2″x2″x8′ stud for joining the corners. It was quick work to construct the raised bed.

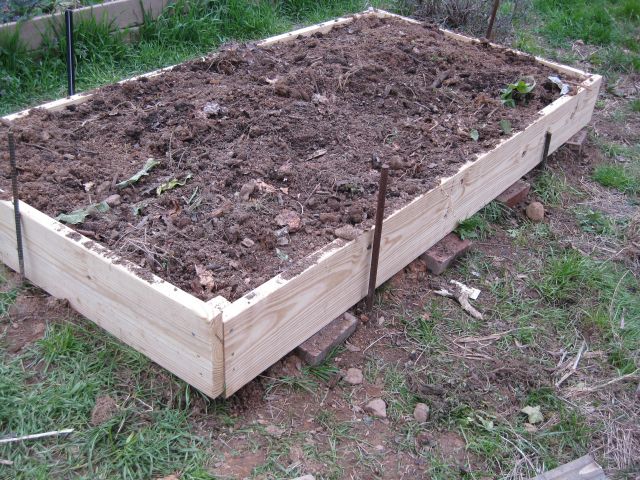
Since the raised bed is on sloping ground and I wanted it reasonably level I had two choices. I could dig the higher side into the ground or raise the lower side. Since I wanted to reduce earth contact as much as possible (to minimize rotting), I decided to raise the lower side of the raised bed by placing it on surplus bricks. The raised bed is reasonably level now. I pinned the corners of the raised bed using 2.5″ weather resistant screws and also buttressed the sides with scrap iron rods hammered vertically into the ground. I filled the raised bed with soil which previously covered rotted logs so it is rich in organic materials. And then I added a wheel barrow of compost to the top and forked it in. The raised bed is now ready for its first occupants and after the next rains, when it has settled, I will seed with root plants (carrots, turnips and beets) interspersed with my favorite kale seedlings.

